All posts that are about or contain

Programming

Get a random file using AWS services

Posted
This post is also about or contains
AWSStep-By-Step Tutorial

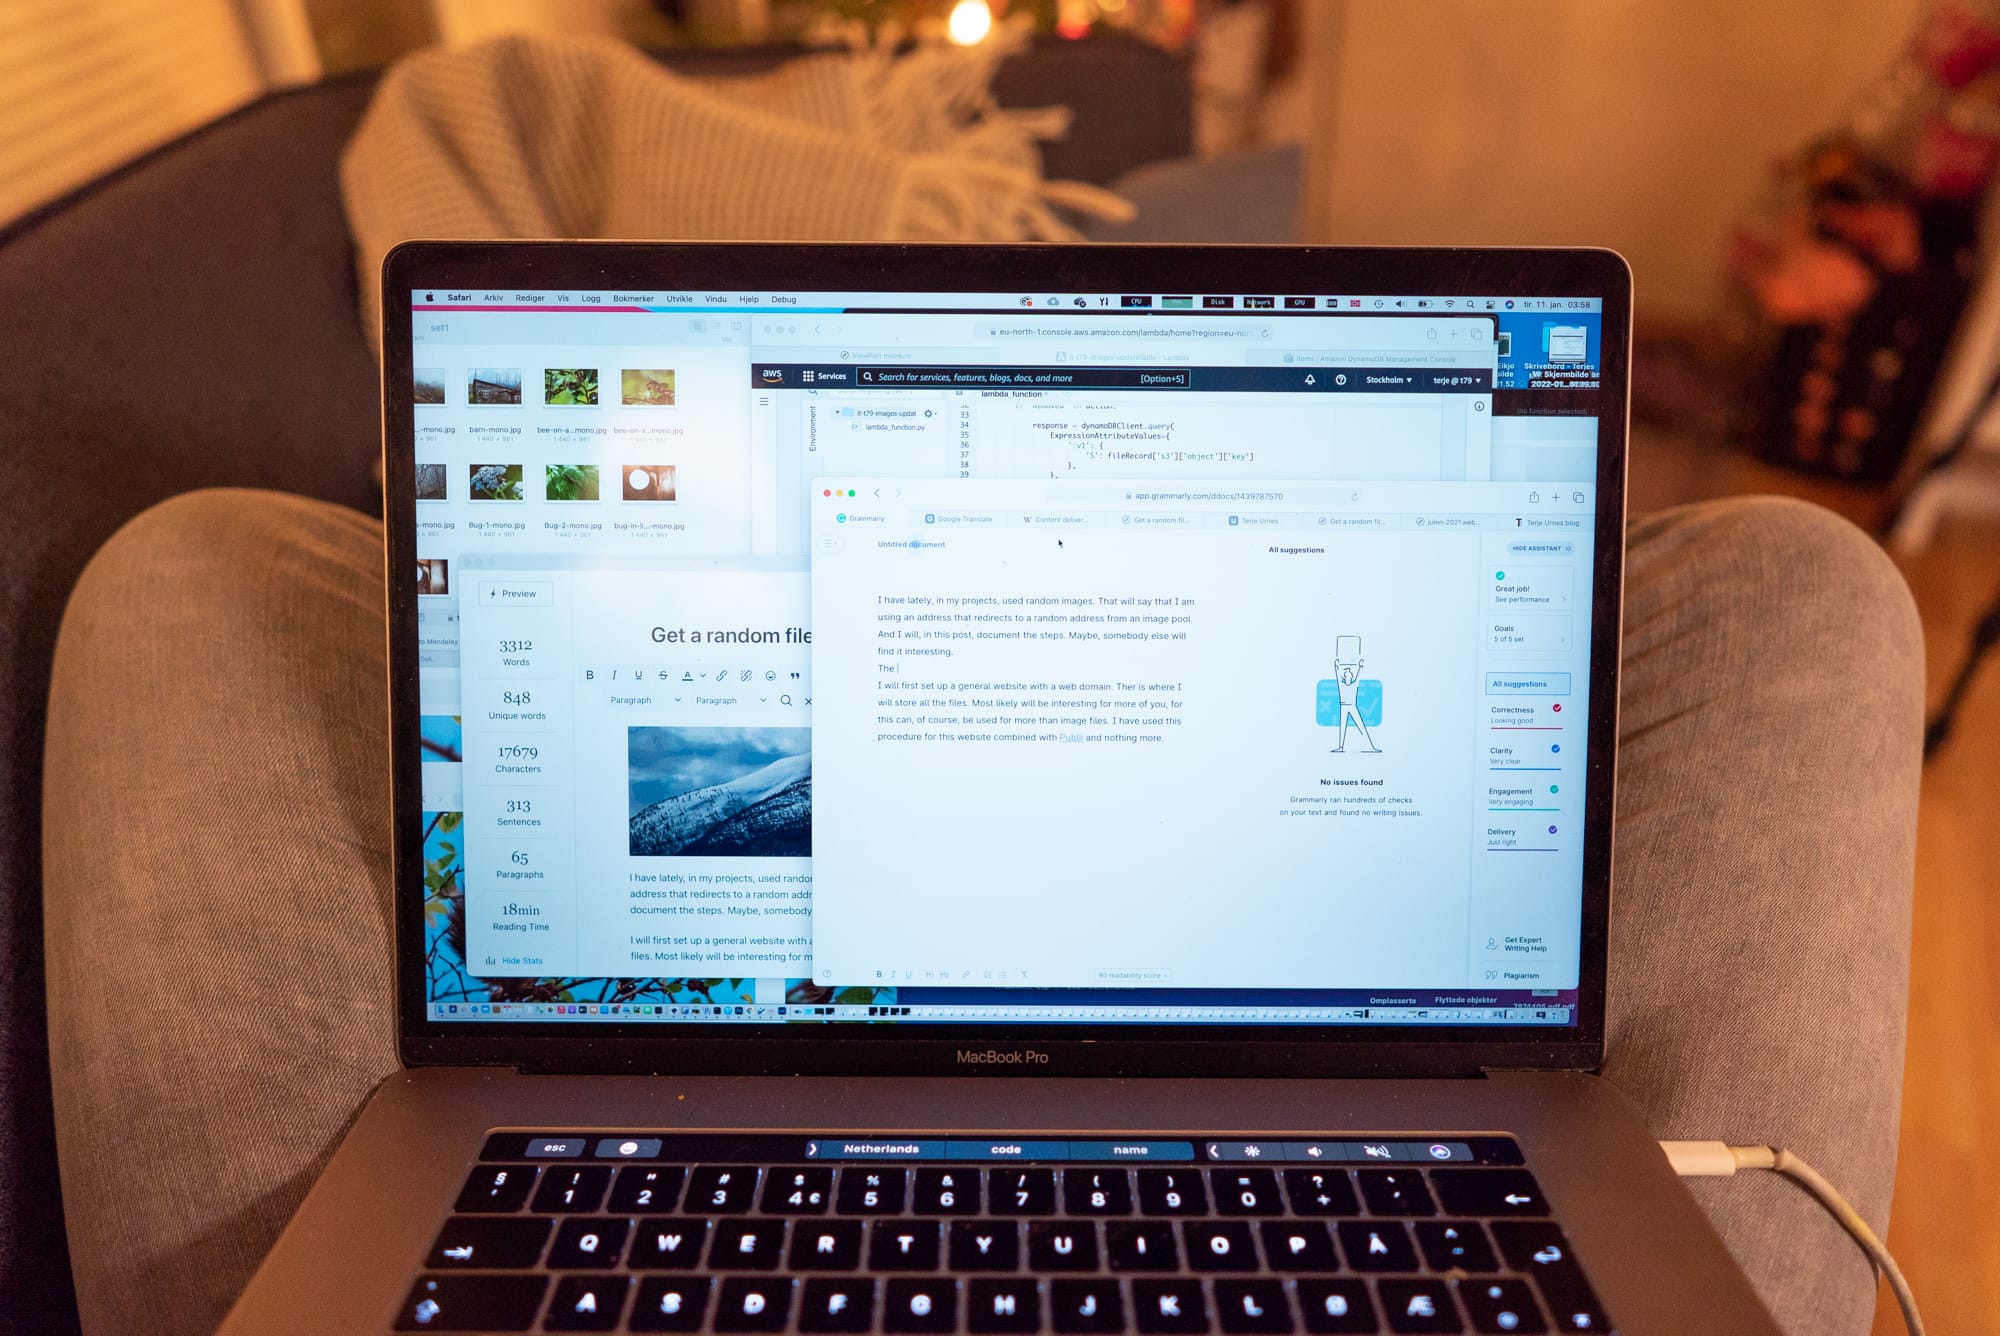
I have lately, in my projects, used random images. That will say that I am using an address to a source that redirects to a random address from an image pool. And I will, in this post, document the steps. Maybe, somebody else will find it interesting.

I will first set up a general website with a web domain. Ther is where I will store all the files. Most likely will be interesting for more of you, for this can, of course, be used for more than image files. I have used this procedure for this website combined with Publii and nothing more. 

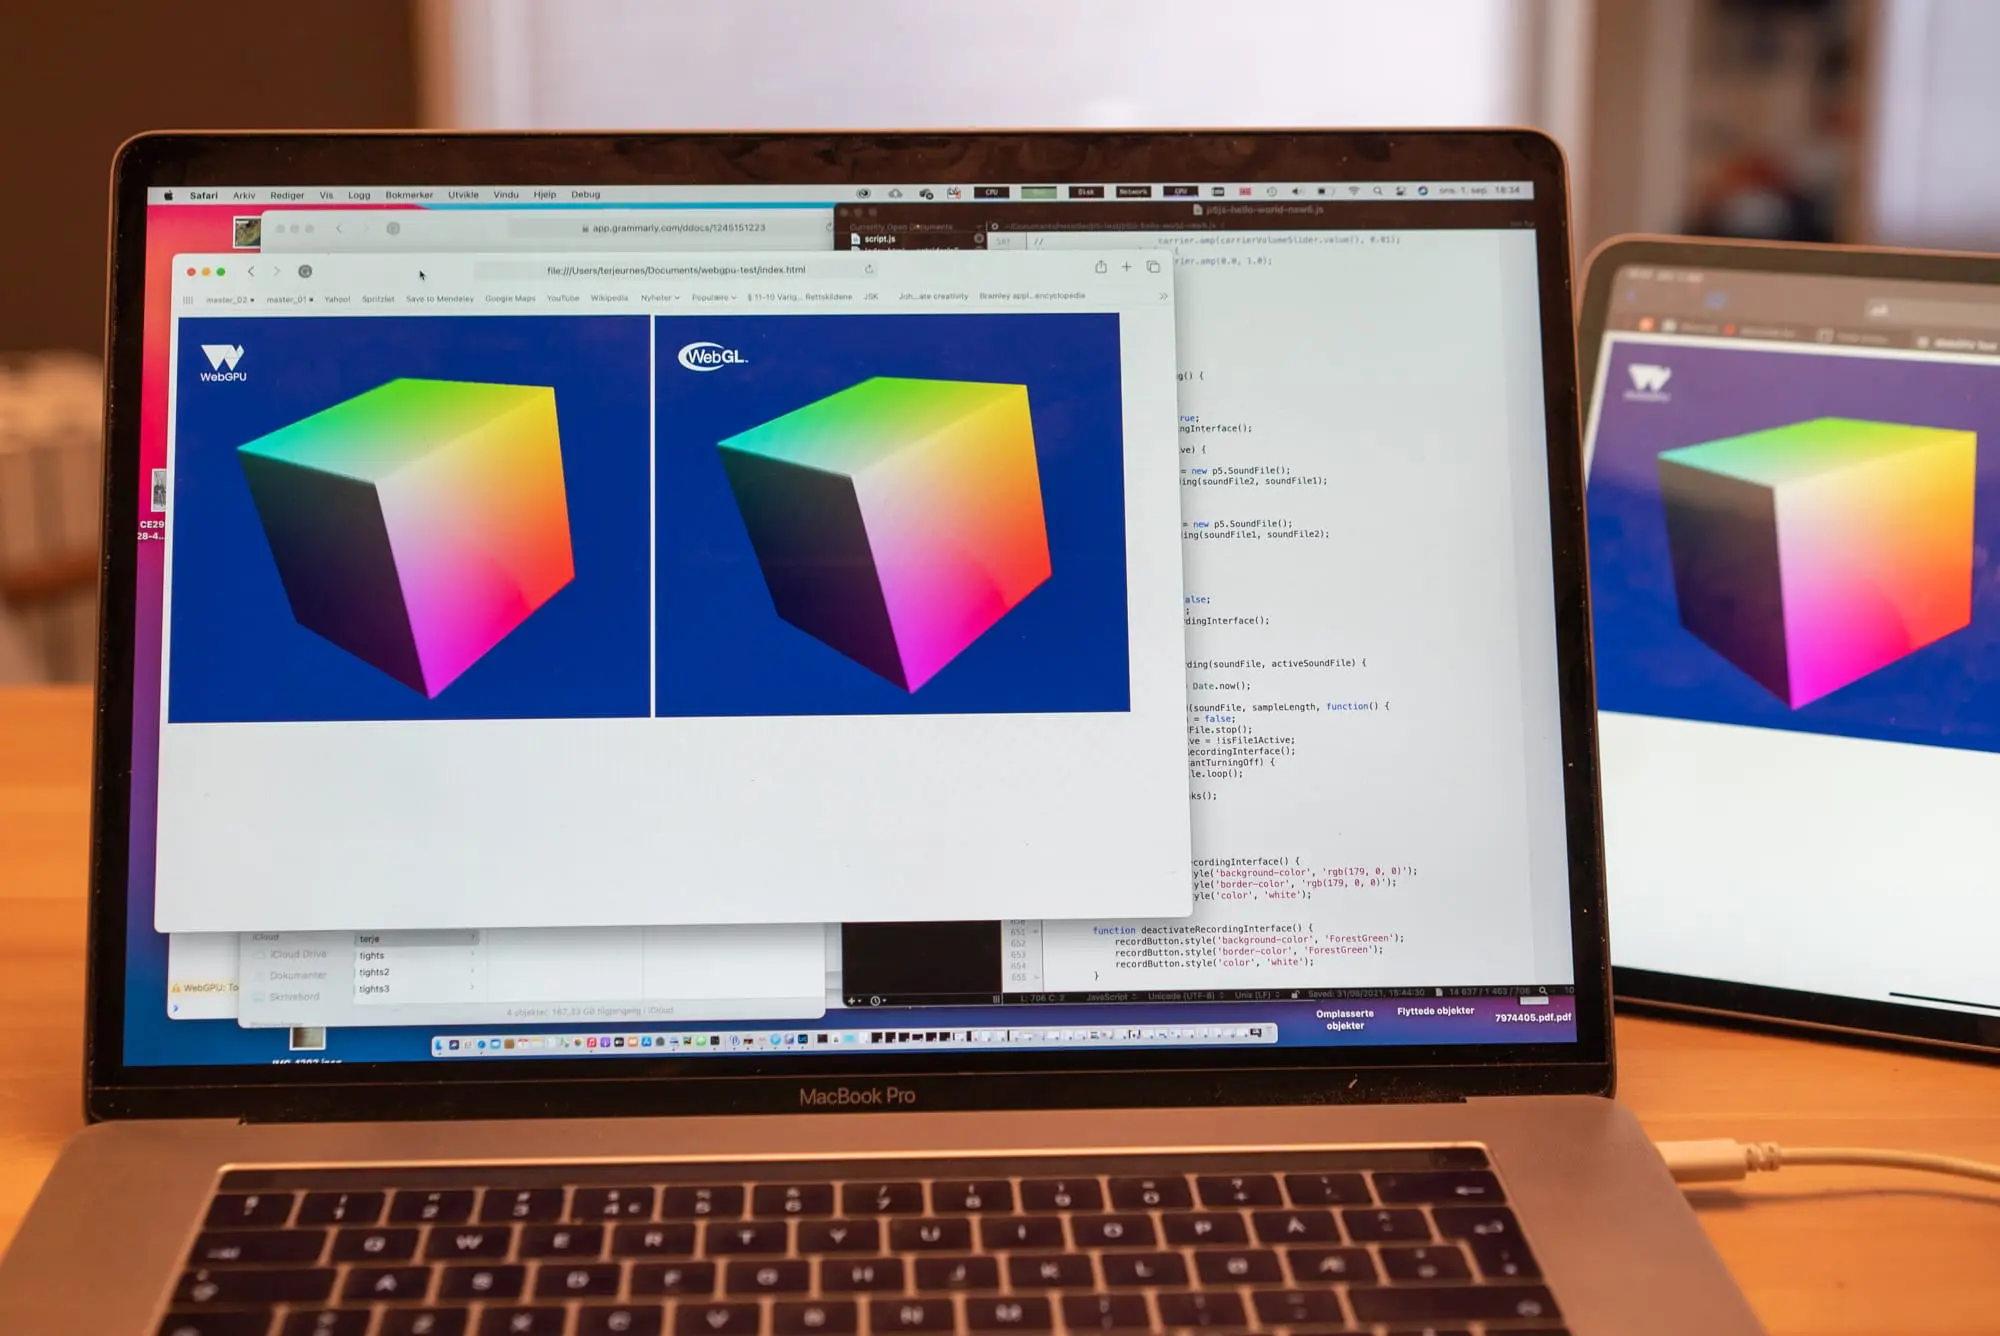
Then I will set up a table in a database for storing the file addresses. And then connect it to a function that is internet accessible, api.images.t79.it/get-random. It will randomly choose an address from the table and send it in return. Technically it will be a 301 redirect. A web browser will then show the user the content of the redirected address. Like in the animation you see at the top of this post.

AWS is my cloud provider. So if not all, then almost everything I will do is specific to them. I will go through it step by step, except setting up the DNS for a possible domain. It will look nicer with that. And if you buy one at them, they will set up the DNS.

Do you need a website? I will now show you how to set that up.

Setting up a website for hosting the files, part 1

The first step is to go into the S3 service. It is a file storage service only, so it does not process the files. I maybe forgot to mention that. So no WordPress, but perfect for other website builders. I will now start by setting up what they are calling a bucket. That is the folder that will contain the website.

Figure 1
Figure 1

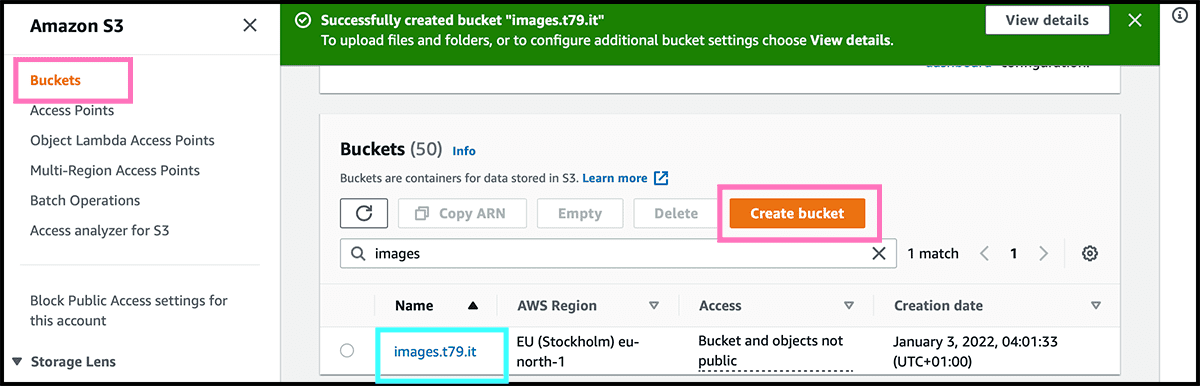
Fig 1 Select Create bucket. Fig 2 Then give it a Bucket name. And check then the AWS Region. The physical location of where the files are stored. And should be closest to your audience. For me, that will be Stockholm. Select Create bucket. And then, the bucket is ready. Only have to change a setting and some permissions, and it has transformed into a website host.

... continue to see the full post.

First try with WebGPU + WebGL

Posted
This post is also about or contains
First tryWebGL WebGPU


.

The cube on top is WebGPU, and the cube on the bottom of this post is WebGL. And the video is a side-by-side comparison if you don't have WebGPU support. As expected is there no differences in their output. But it is two different graphic libraries. Where WebGPU was the one that needed the most code. But then WebGPU can utilize more of the graphic card than WebGL can.

WebGPU has more in common with the libraries Metal, Vulcan, and DirectX 12 than WebGL. And it looks like it will be the successor of WebGL. Of course, I stumbled over it right after starting to learn WebGL. So now I am not sure which I will spend the most time on. WebGPU is pretty young and is still only an experimental feature in some web browsers. So actually, you probably do not see the WebGPU that I have embedded in this post. And for the moment, even if you have support, there is no guarantee that you will see the cube.

I have in this post followed examples from WebKit and have only got them to run in Safari. Other examples I have looked at have only run in a different browser. That includes the one in WebGPU's GitHub. Hopes it is because the WebKit examples do not use the same shader language. I probably have to swap languages since it looks like WGSL will win the battle and not WHLSL. 

Now was the plan to go through some parts of the code and highlighting the differences.  But surprise, I need to work more with both libraries first. So maybe another day.


First try with p5js, including bugs, v0.1

Posted
This post is also about or contains
Artistic programming First try p5js


p5.js is a JavaScript library for creative coding, with a focus on making coding accessible and inclusive for artists, designers, educators, beginners, and anyone else! - p5js.org

Inside of this canvas is a frequency modulator with some sampling functionality. You can control the interface with keys or a mouse. For starting to play and turn off, you use the p key. The r key starts and stops the recording. There are two volume sliders. The a and s keys control the volume on the modulator. And you use the z and x keys to control the sample volume. With the c key, you clean the sampler or empty it. There will come a button for that later together whit some other things. Update: I have added the h key, and it will hold or freeze the tone.

There is some bug in the p5js library or WebKit 1 that distorts the sound from the sampling. So this is not usable, but just a big enough programming challenge that it has been worth doing just for the practice.

  1. https://github.com/processing/p5.js-sound/issues/494

The first try with WebGL

Posted
This post is also about or contains
First tryWebGL

It has gone many years since I started working with graphic programming. And that was with OpenGL. Today I have tried WebGL for the first time. It builds on OpenGL ES 2 that again are simplified OpenGL 2, so everything was familiar. I have followed step by step a Mozilla tutorial. I mostly work like this. Doing tutorials or web courses first, then experiments.

I hope to do some experimental work soon. And it was good doing some graphics programming again, even if it just copied something. The few last years has mainly been theory.

There is not more to say than check the tutorial for details if you are interested.